System Image Burning and Configuration Guide
Step 1: System Image Burning
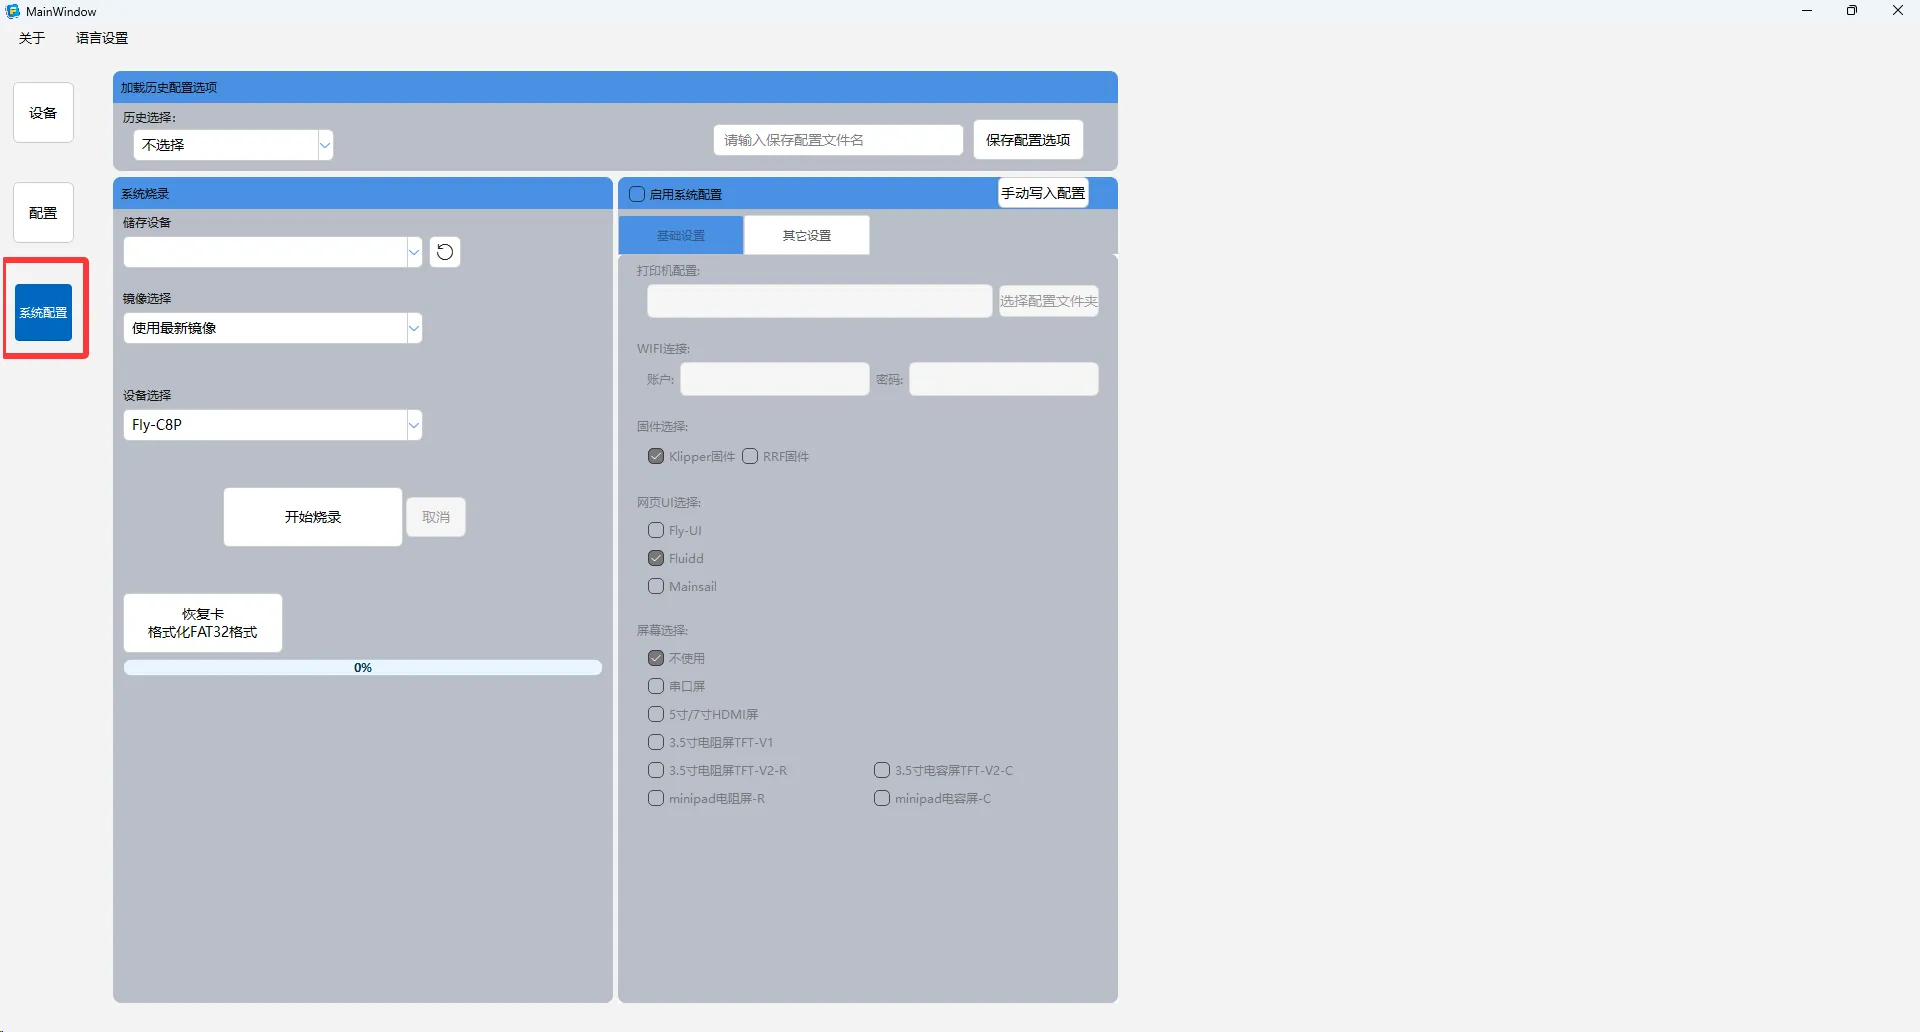
1. Access System Configuration Interface
After launching the software, select the System Configuration option from the left menu bar to enter the system burning interface.
2. Connect Storage Device
Connect the storage card to be burned to the computer's USB port using a card reader.
💡 Tip: Using a USB 3.0 or higher interface can significantly improve burning speed.
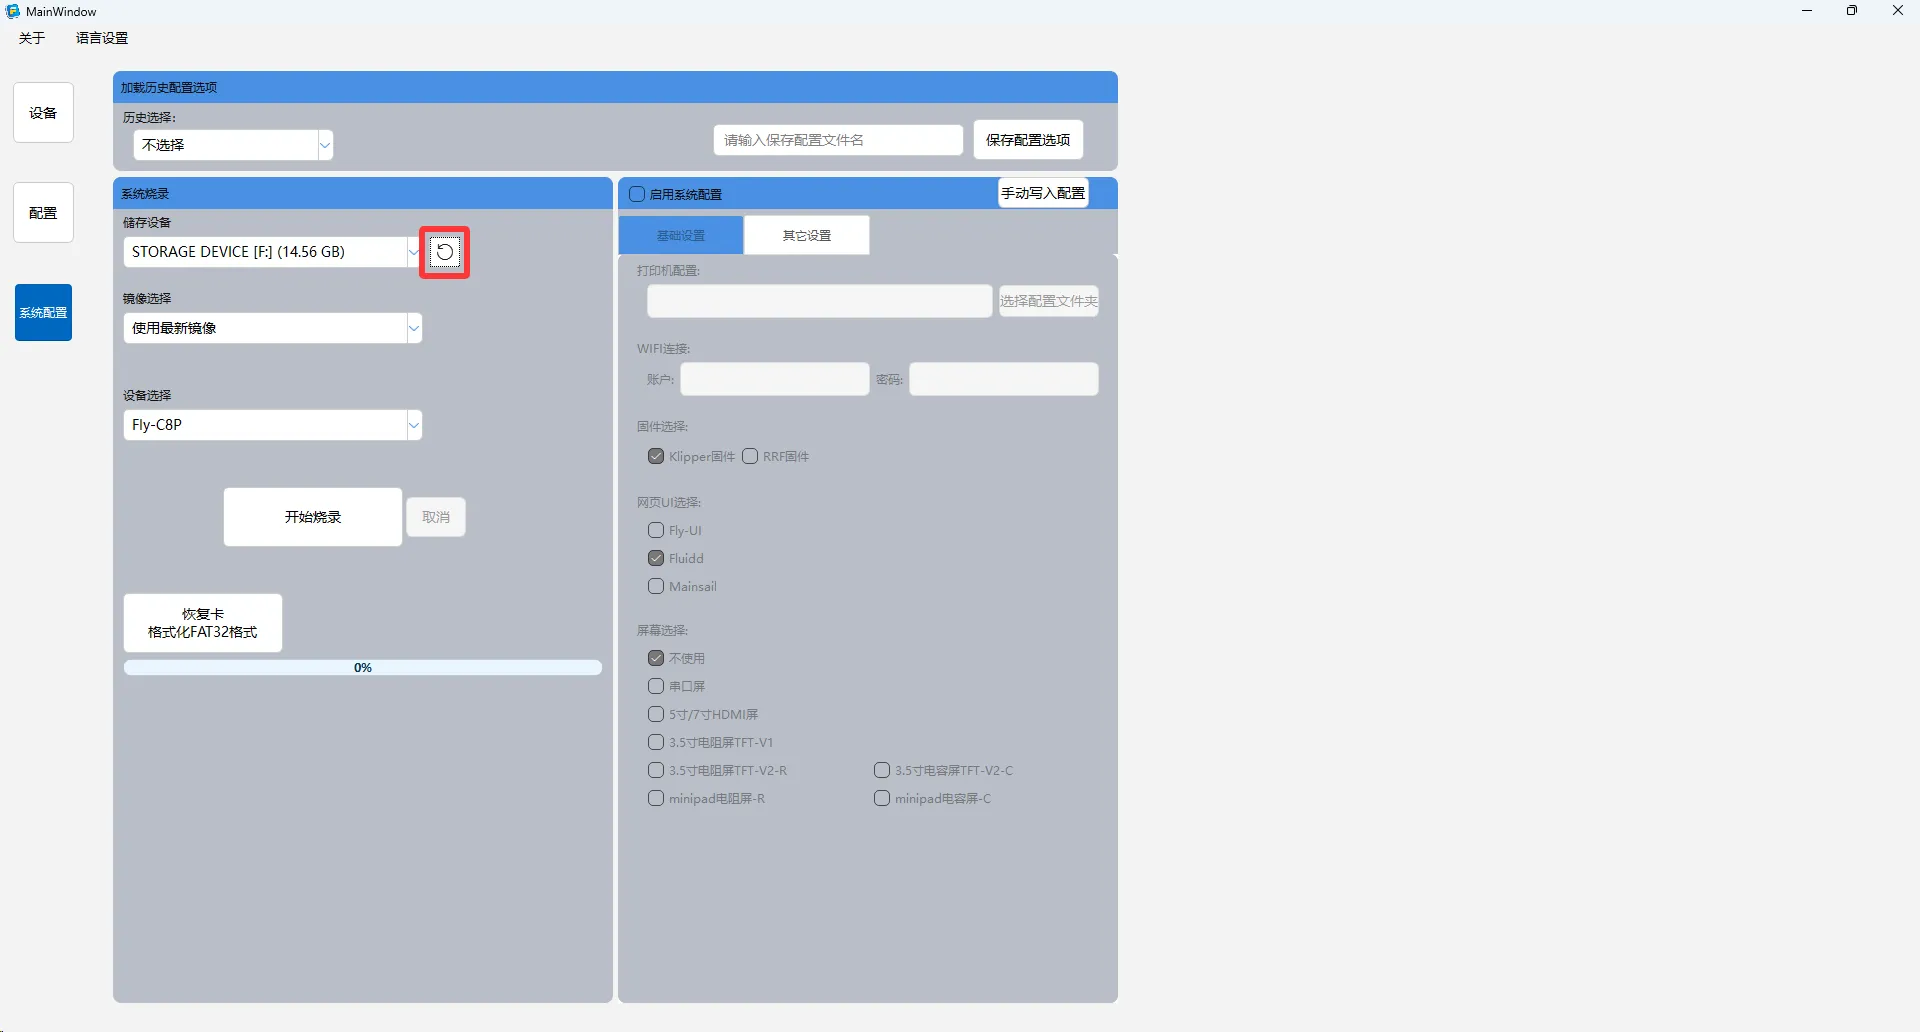
3. Recognize Storage Device
Click the Refresh button next to Storage Device to ensure the system correctly identifies the connected storage card.
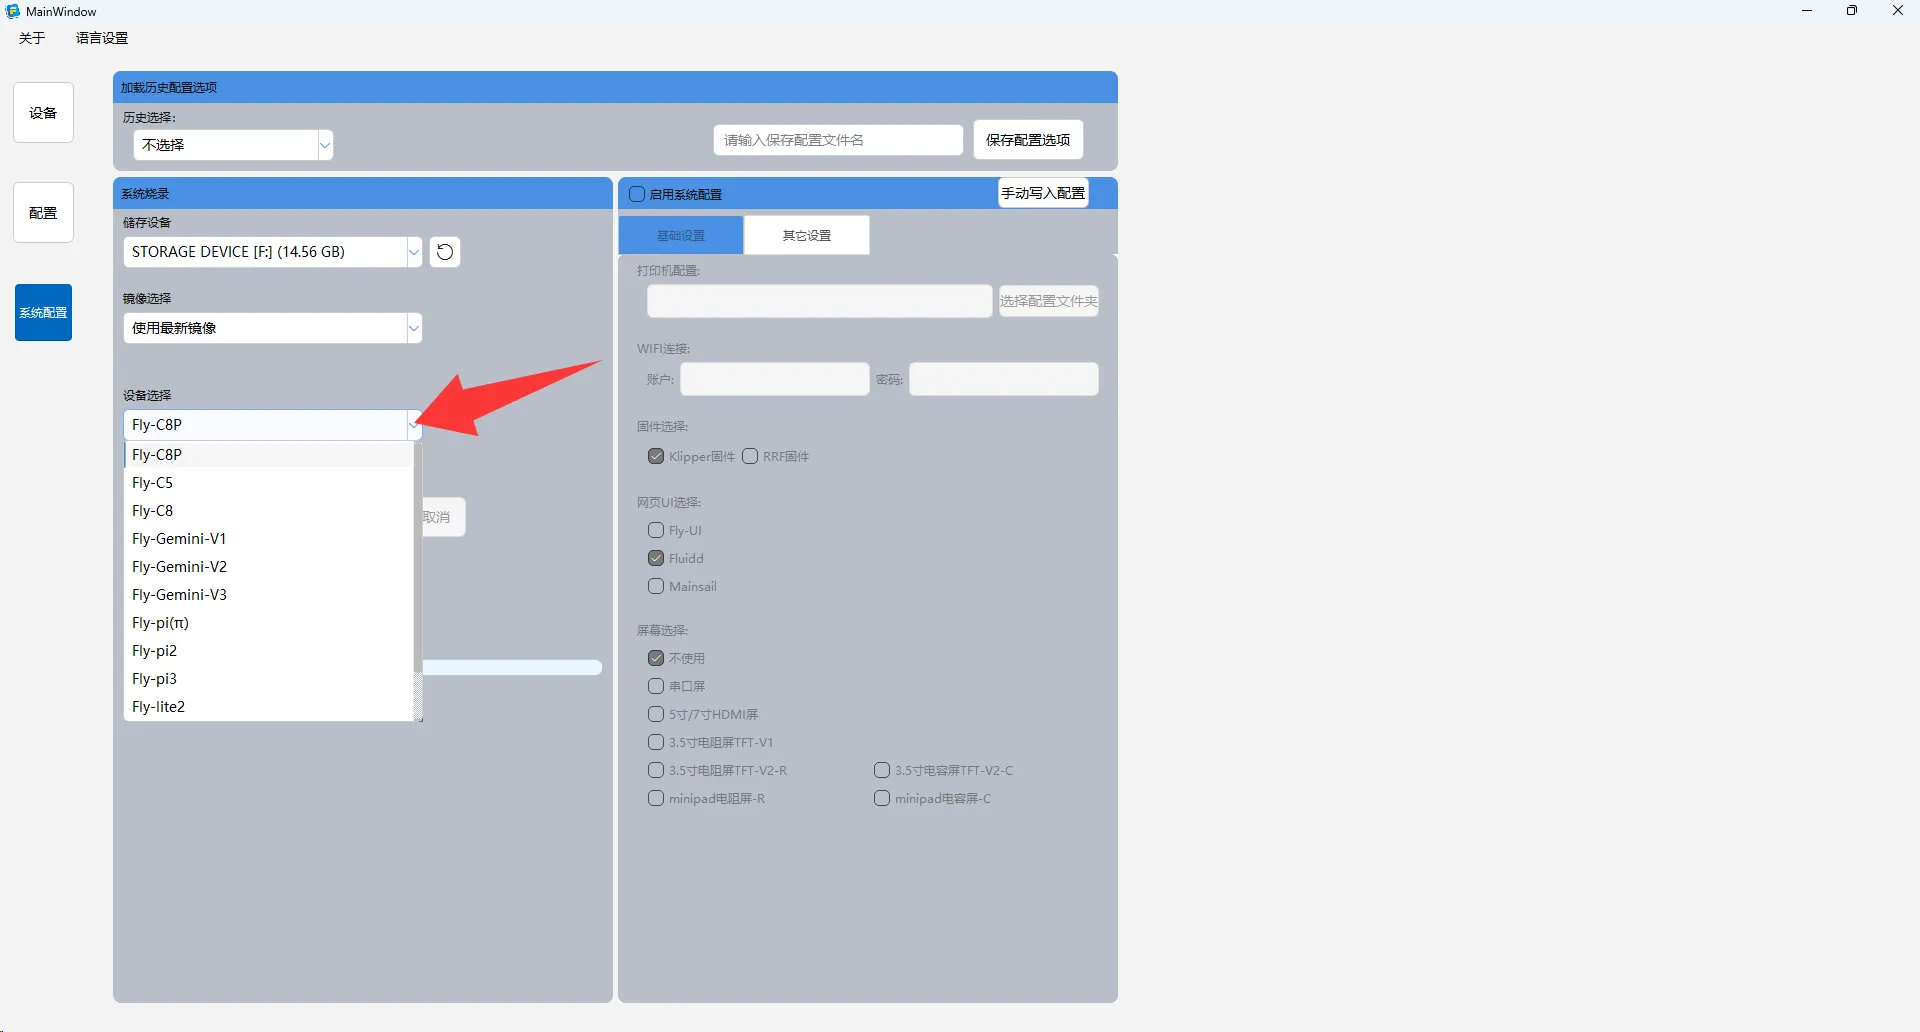
4. Select Device Model
Click Device Selection and choose the corresponding configuration scheme based on your device model.
5. Perform Burning Operation
After confirming the correct device selection, click the Start Burning button.
- This operation will permanently erase all data on the storage card!
- Please ensure important files have been backed up before burning
- Do not disconnect the device during the burning process
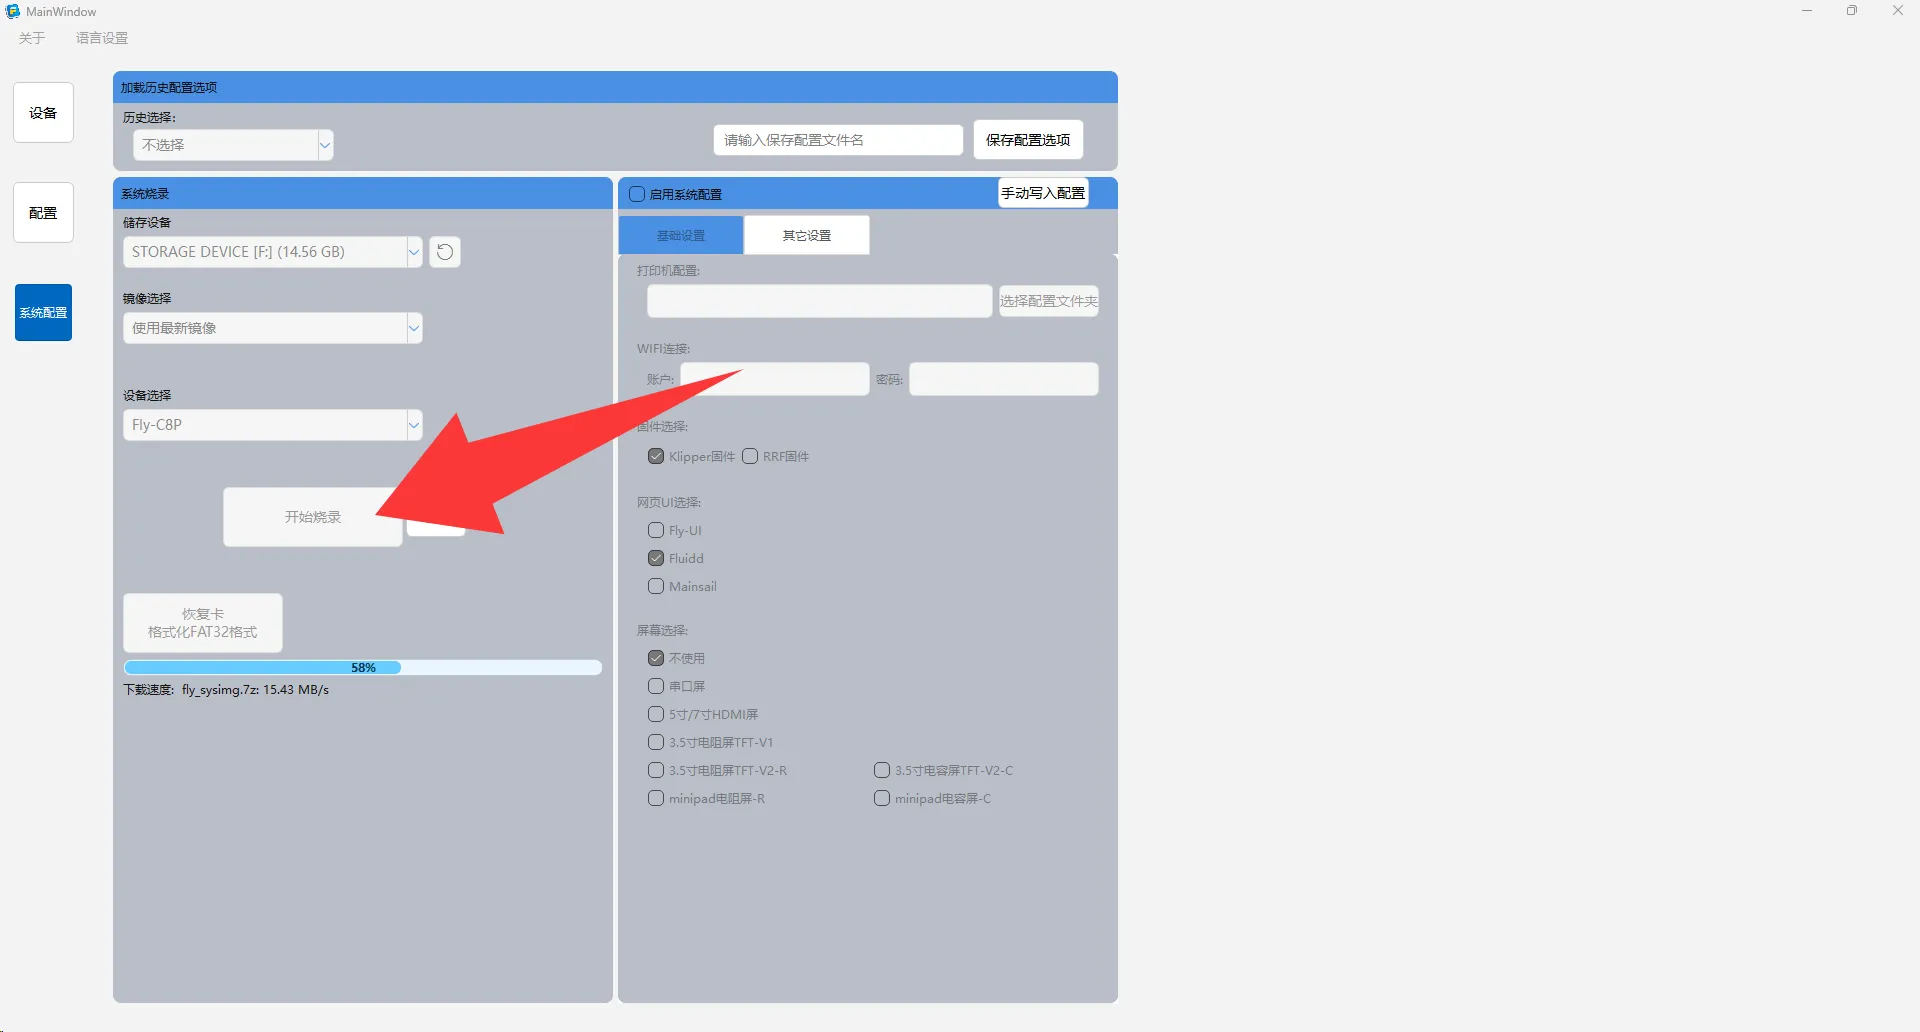
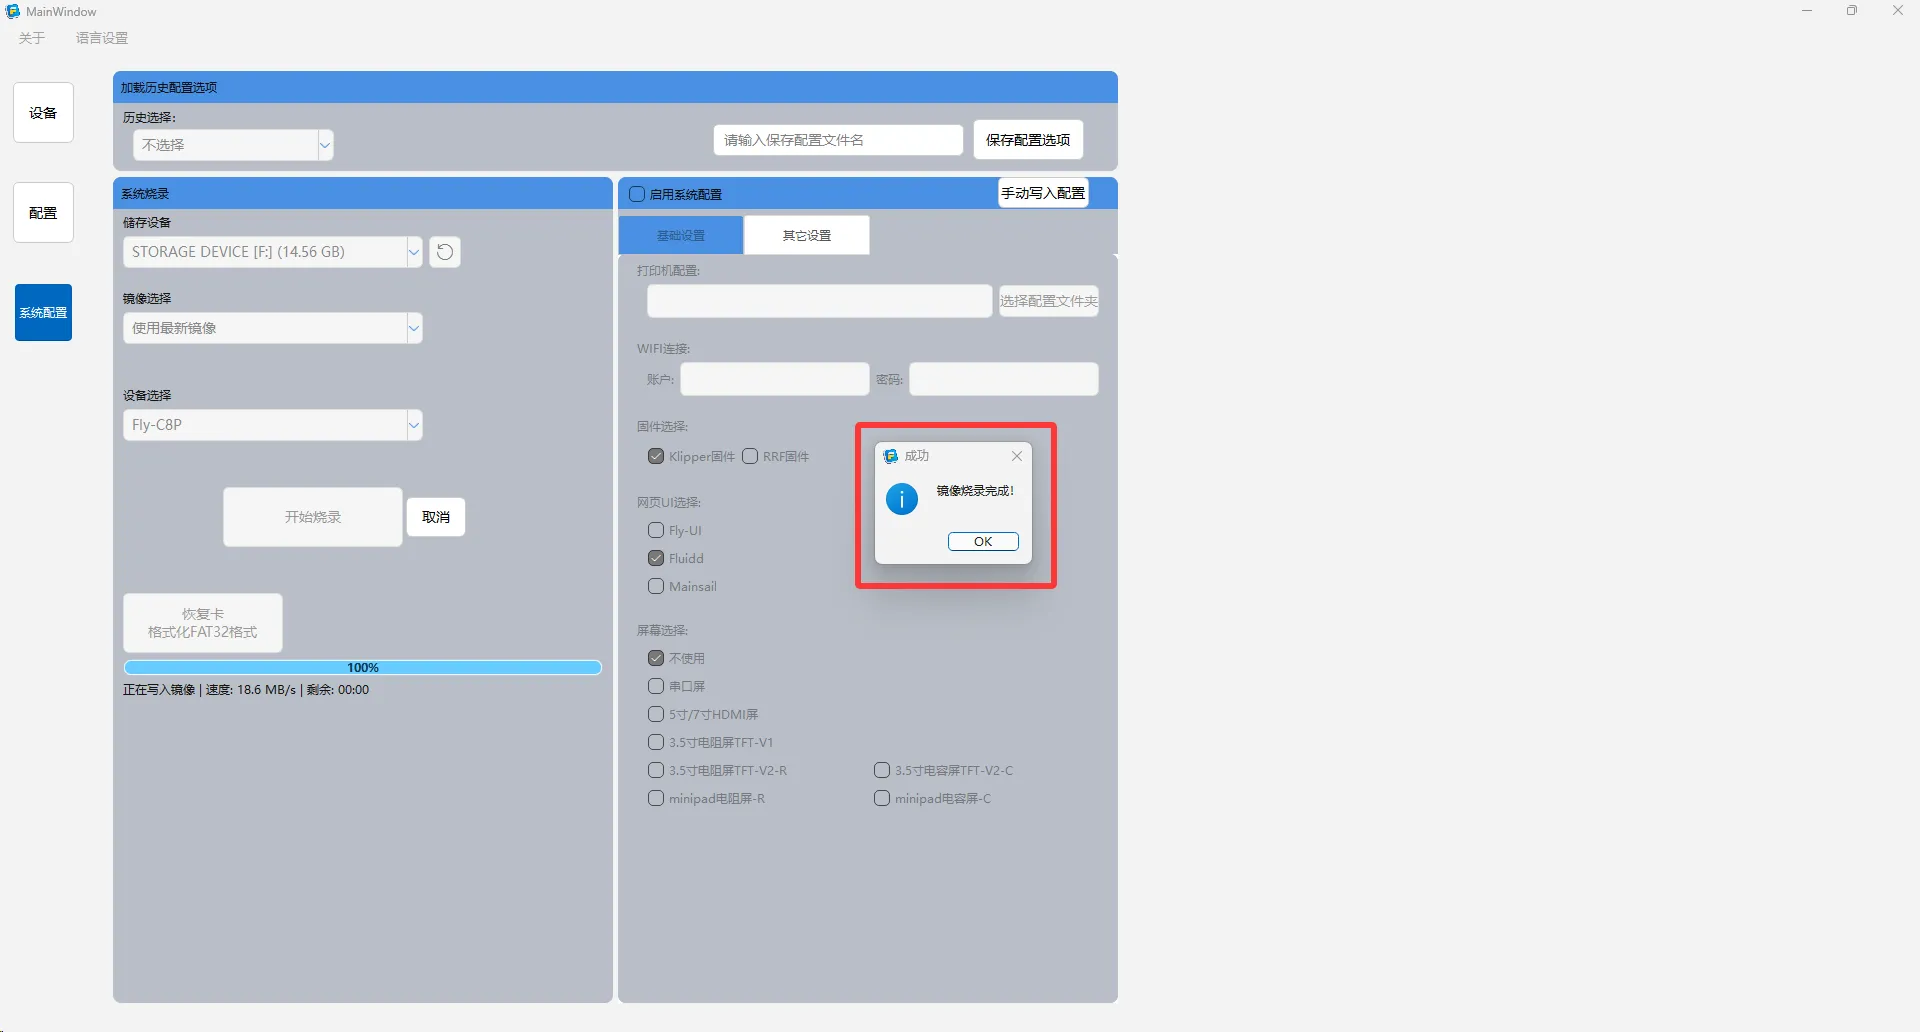
6. Burning Completion
Wait for the burning progress to complete. When the interface displays the "Complete" message, it indicates the system image has been successfully written.
Step 2: System Configuration
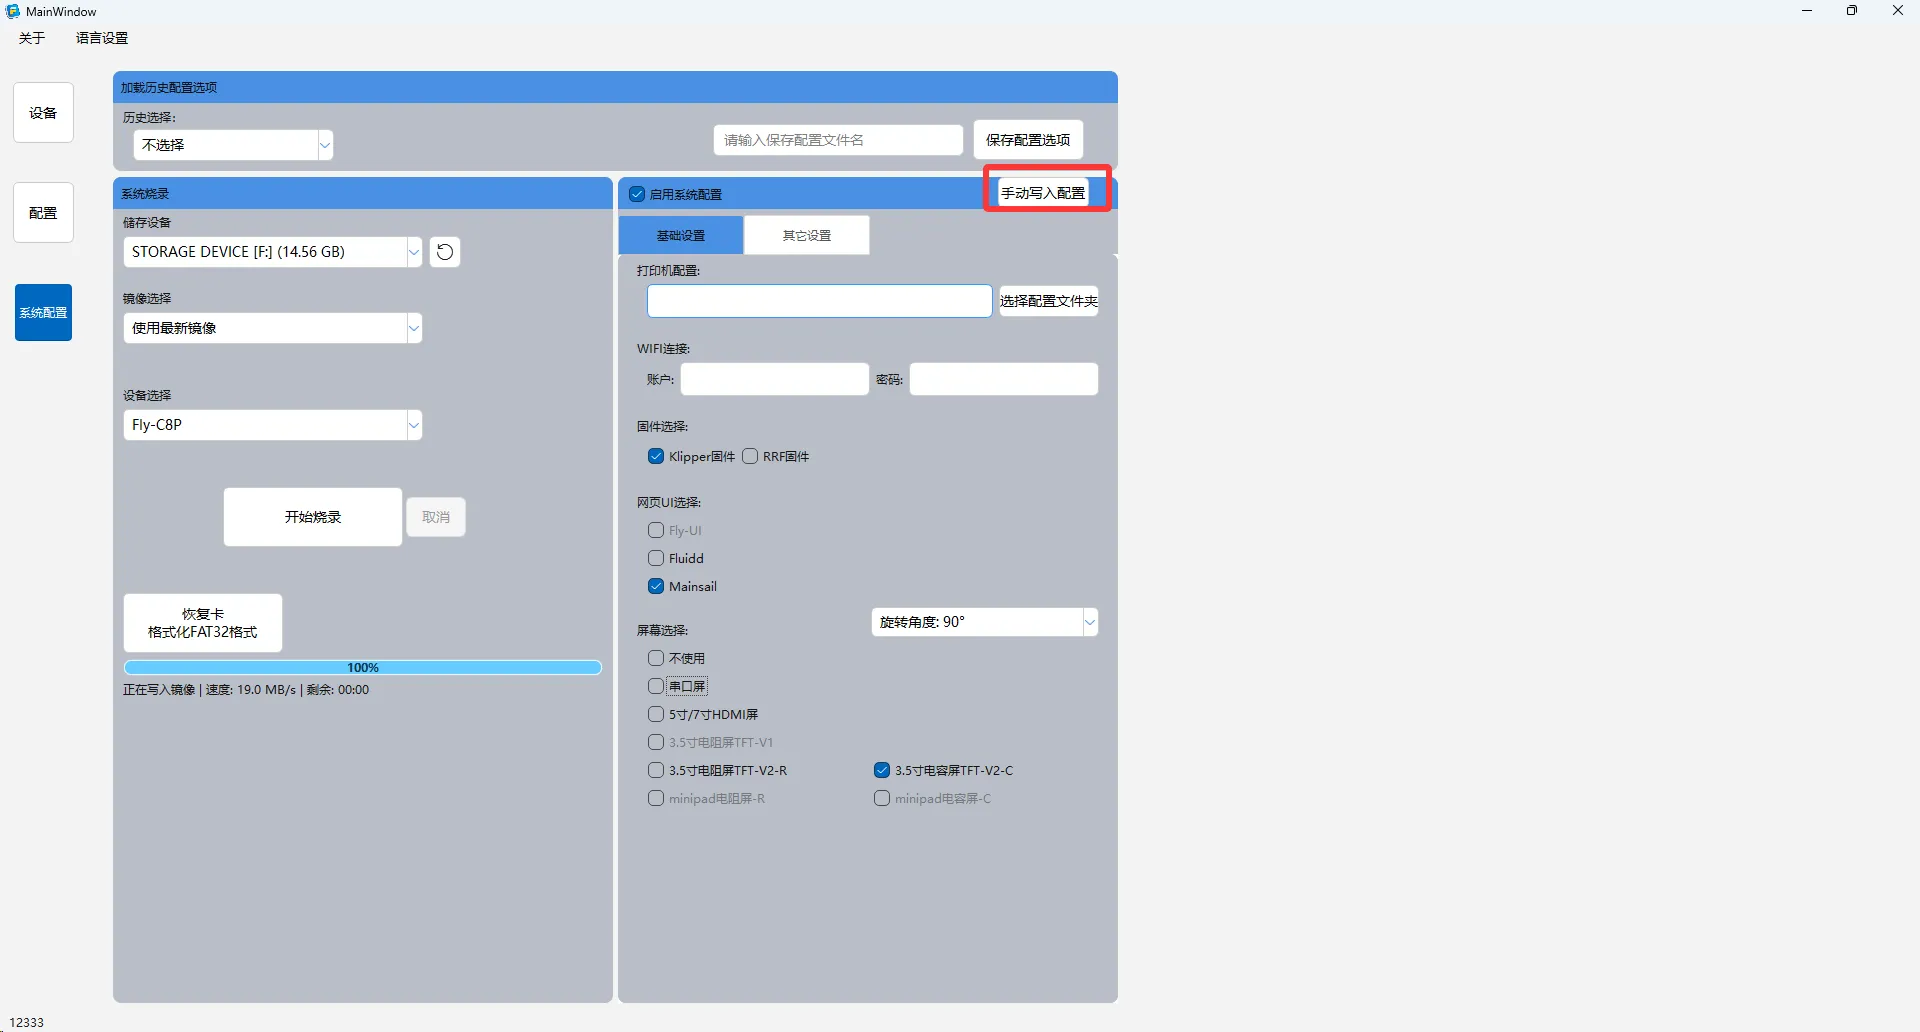
✅ Operation Tip: After completing the selection and modification of all configuration items, be sure to click the Manual Configuration Write button to ensure all settings are properly saved to the system card.
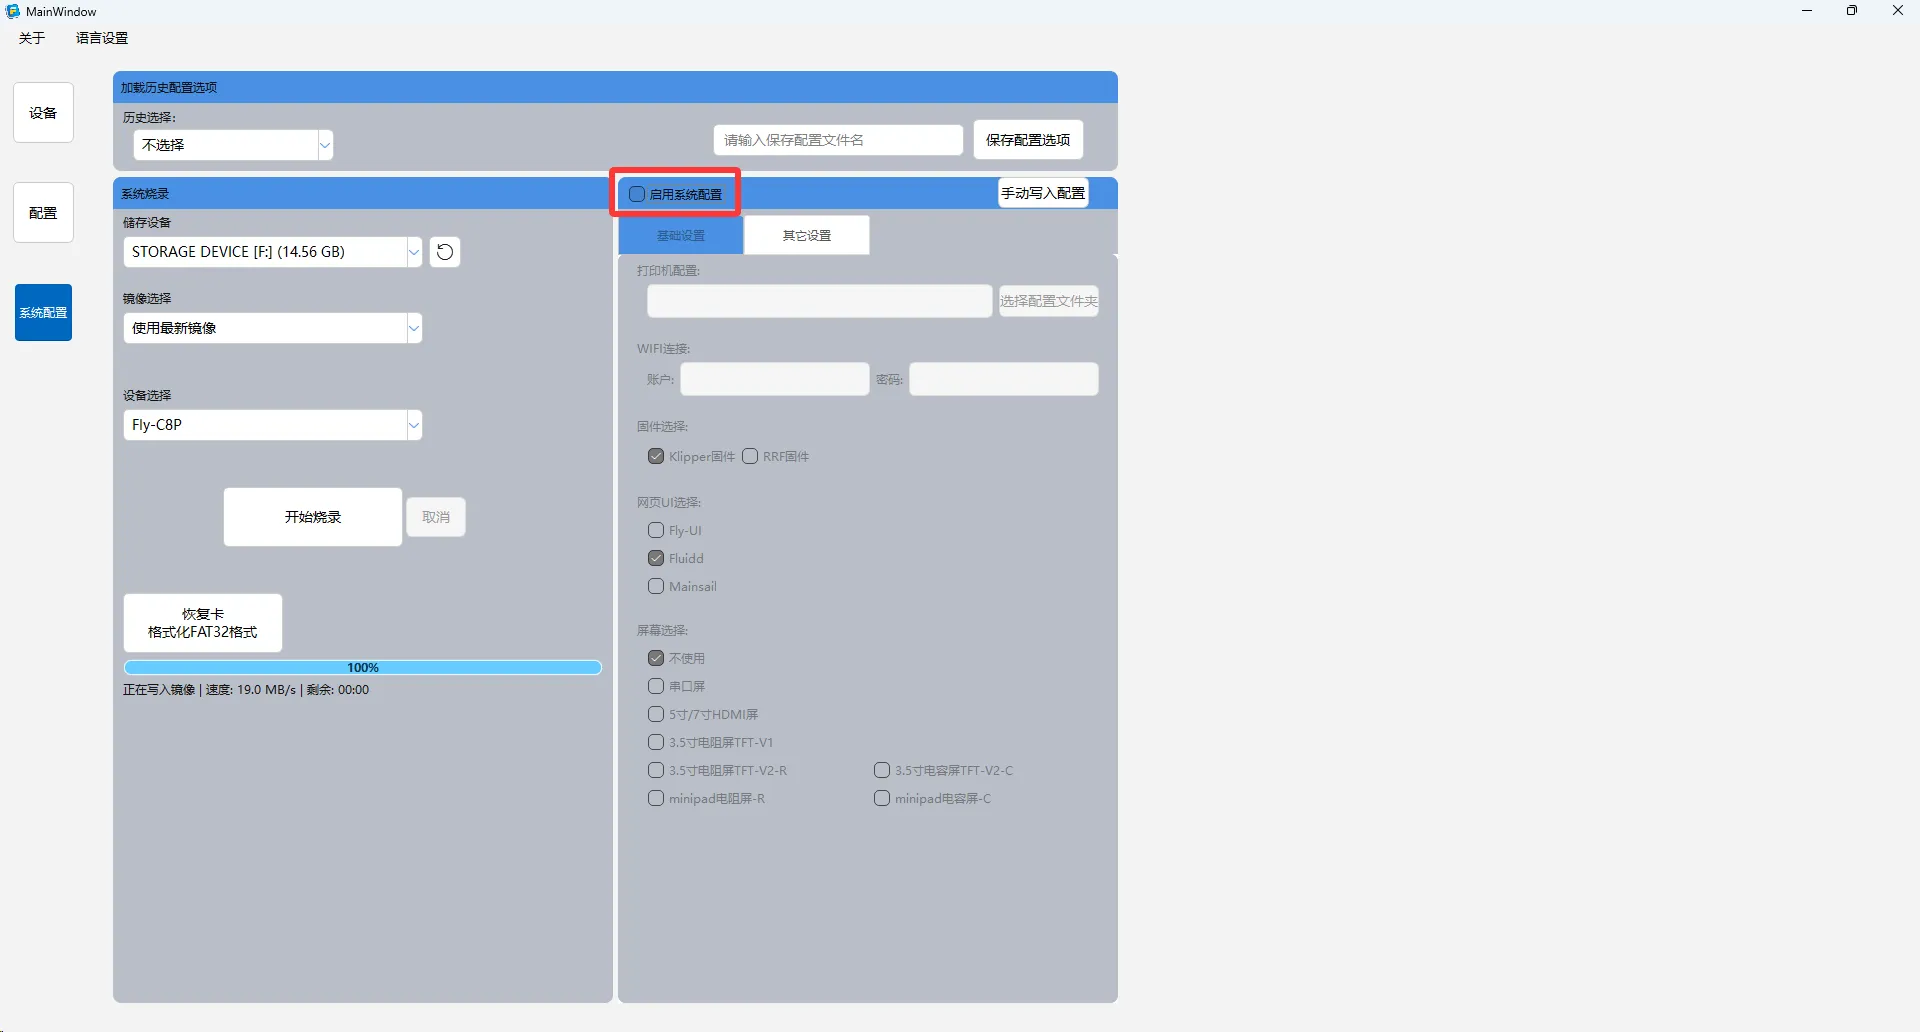
1. Enable Configuration Function
Click the Enable System Configuration switch to activate the system configuration options.
2. Basic Settings
Configuration File Management
- Only folder selection is supported
- Configuration files within the selected folder will be automatically copied to the system card
- The system will automatically load configurations upon startup

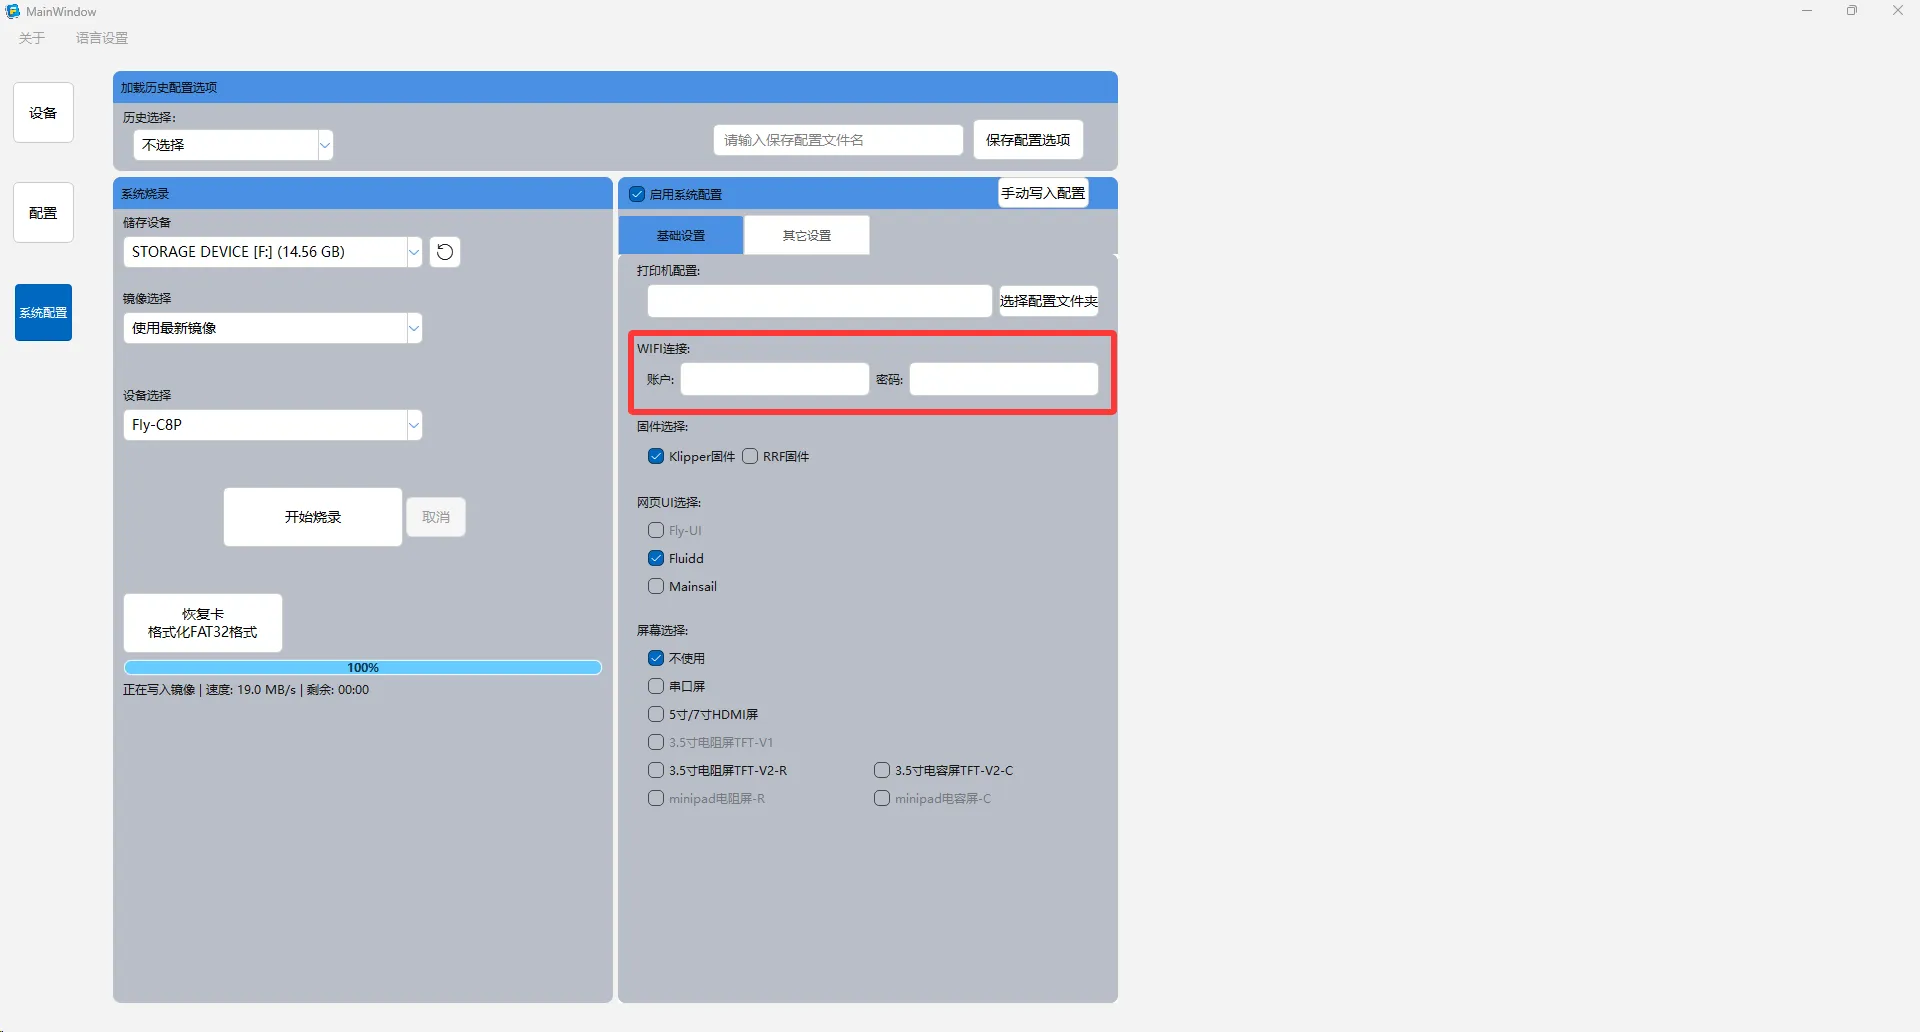
Wi-Fi Network Configuration
Enter the available Wi-Fi name and password to configure the device's network connection.
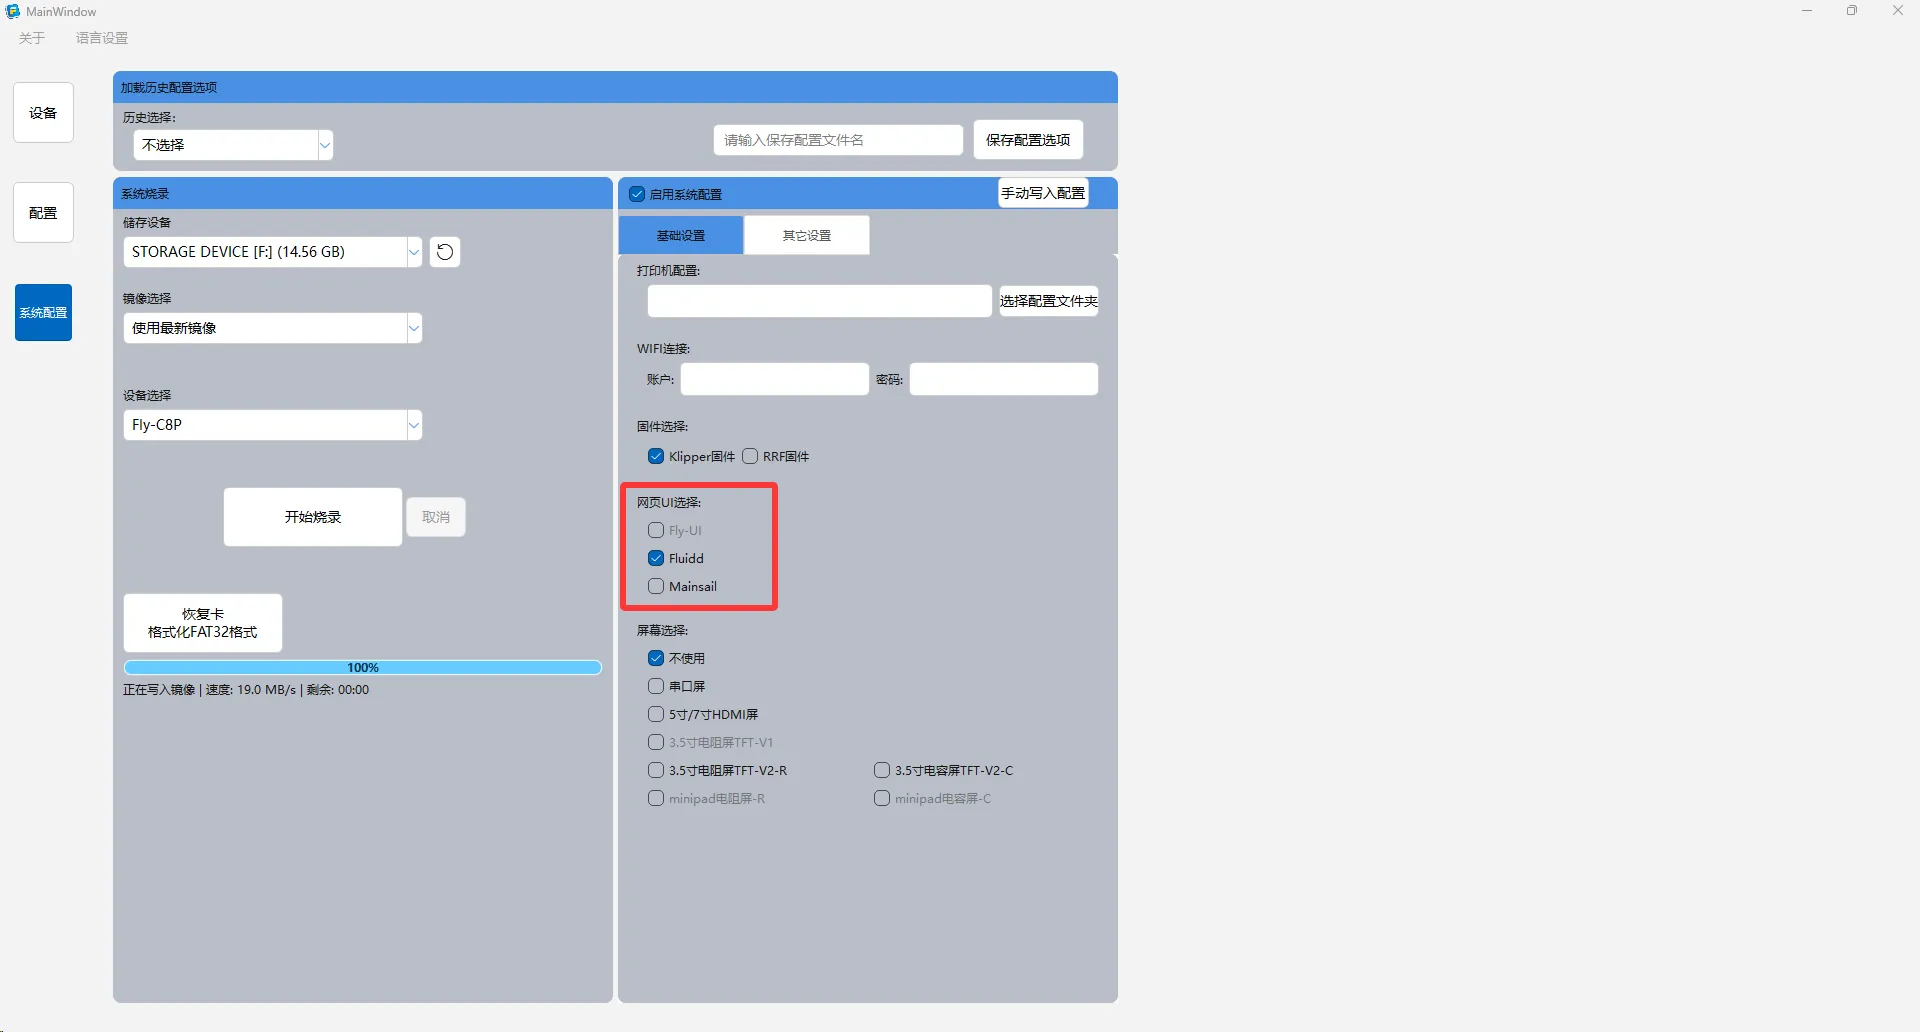
Web Interface Selection
Currently supported web UIs:
- Fluidd - Lightweight Klipper web interface
- Mainsail - Feature-rich Klipper web interface
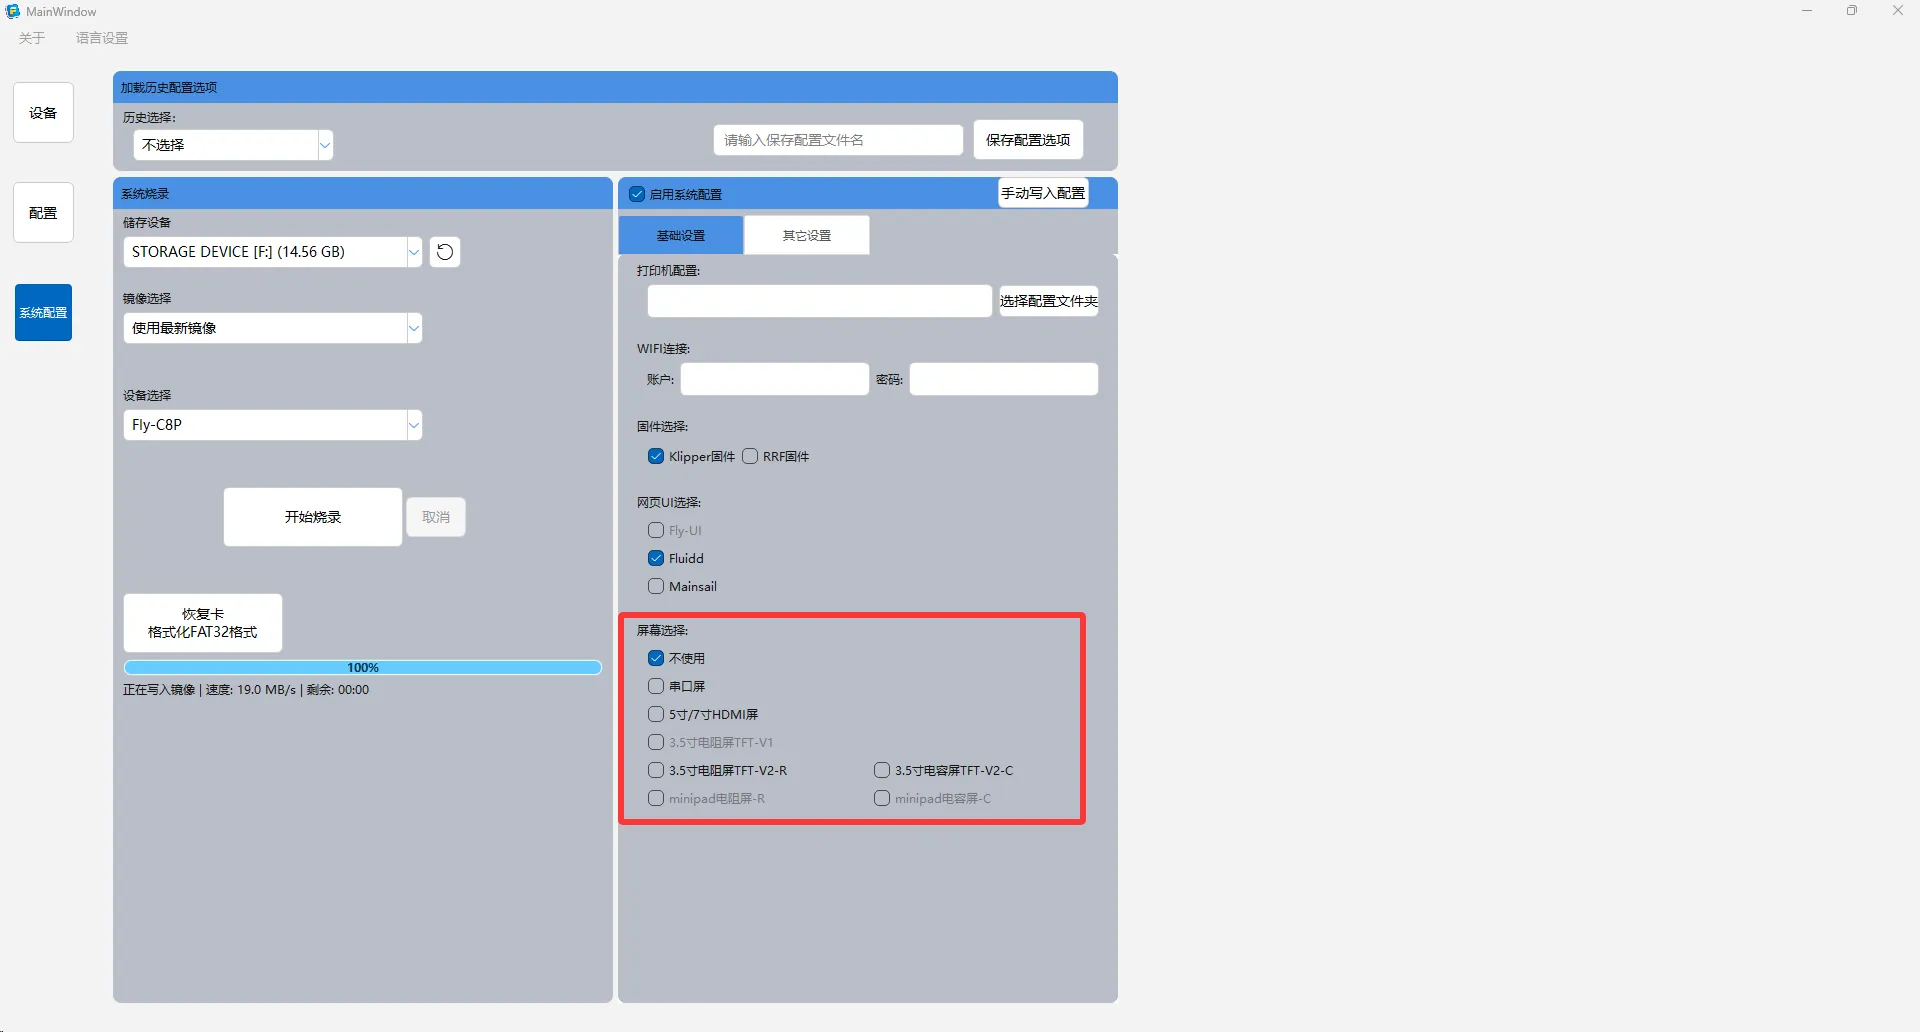
Display Settings
Configure display parameters according to the type of connected monitor.
3. Advanced Settings
Device Identification
Set a personalized printer name for network identification.

Camera Function
Configure camera service parameters to enable video surveillance.

Regional Settings
Set system language and corresponding time zone to ensure accurate time display.

Communication Settings
Configure CAN bus transmission rate to optimize device communication.

Reminder: After completing all configurations, safely eject the storage card, then insert it into the target device to boot the system.